Custom Pages

Friday, October 21, 2016

Progress on the Magic Square

I've been working on making a larger version of the magic square that I wrote about in September. Here is where I am at so far:


Beginning in the corner makes it less fiddly when finishing the square, however, there is also a hidden benefit to starting in this position. Each time a triangle is completed (such as the one pictured above), I have two options. I can work clockwise and continue to make a larger triangle (and thus a larger magic square) or I can work counter clockwise (where the shuttles are placed) to finish the square.

To understand this concept more clearly, picture each magic square as being composed of four triangles. The first, and smallest of the magic squares can be represented like this:


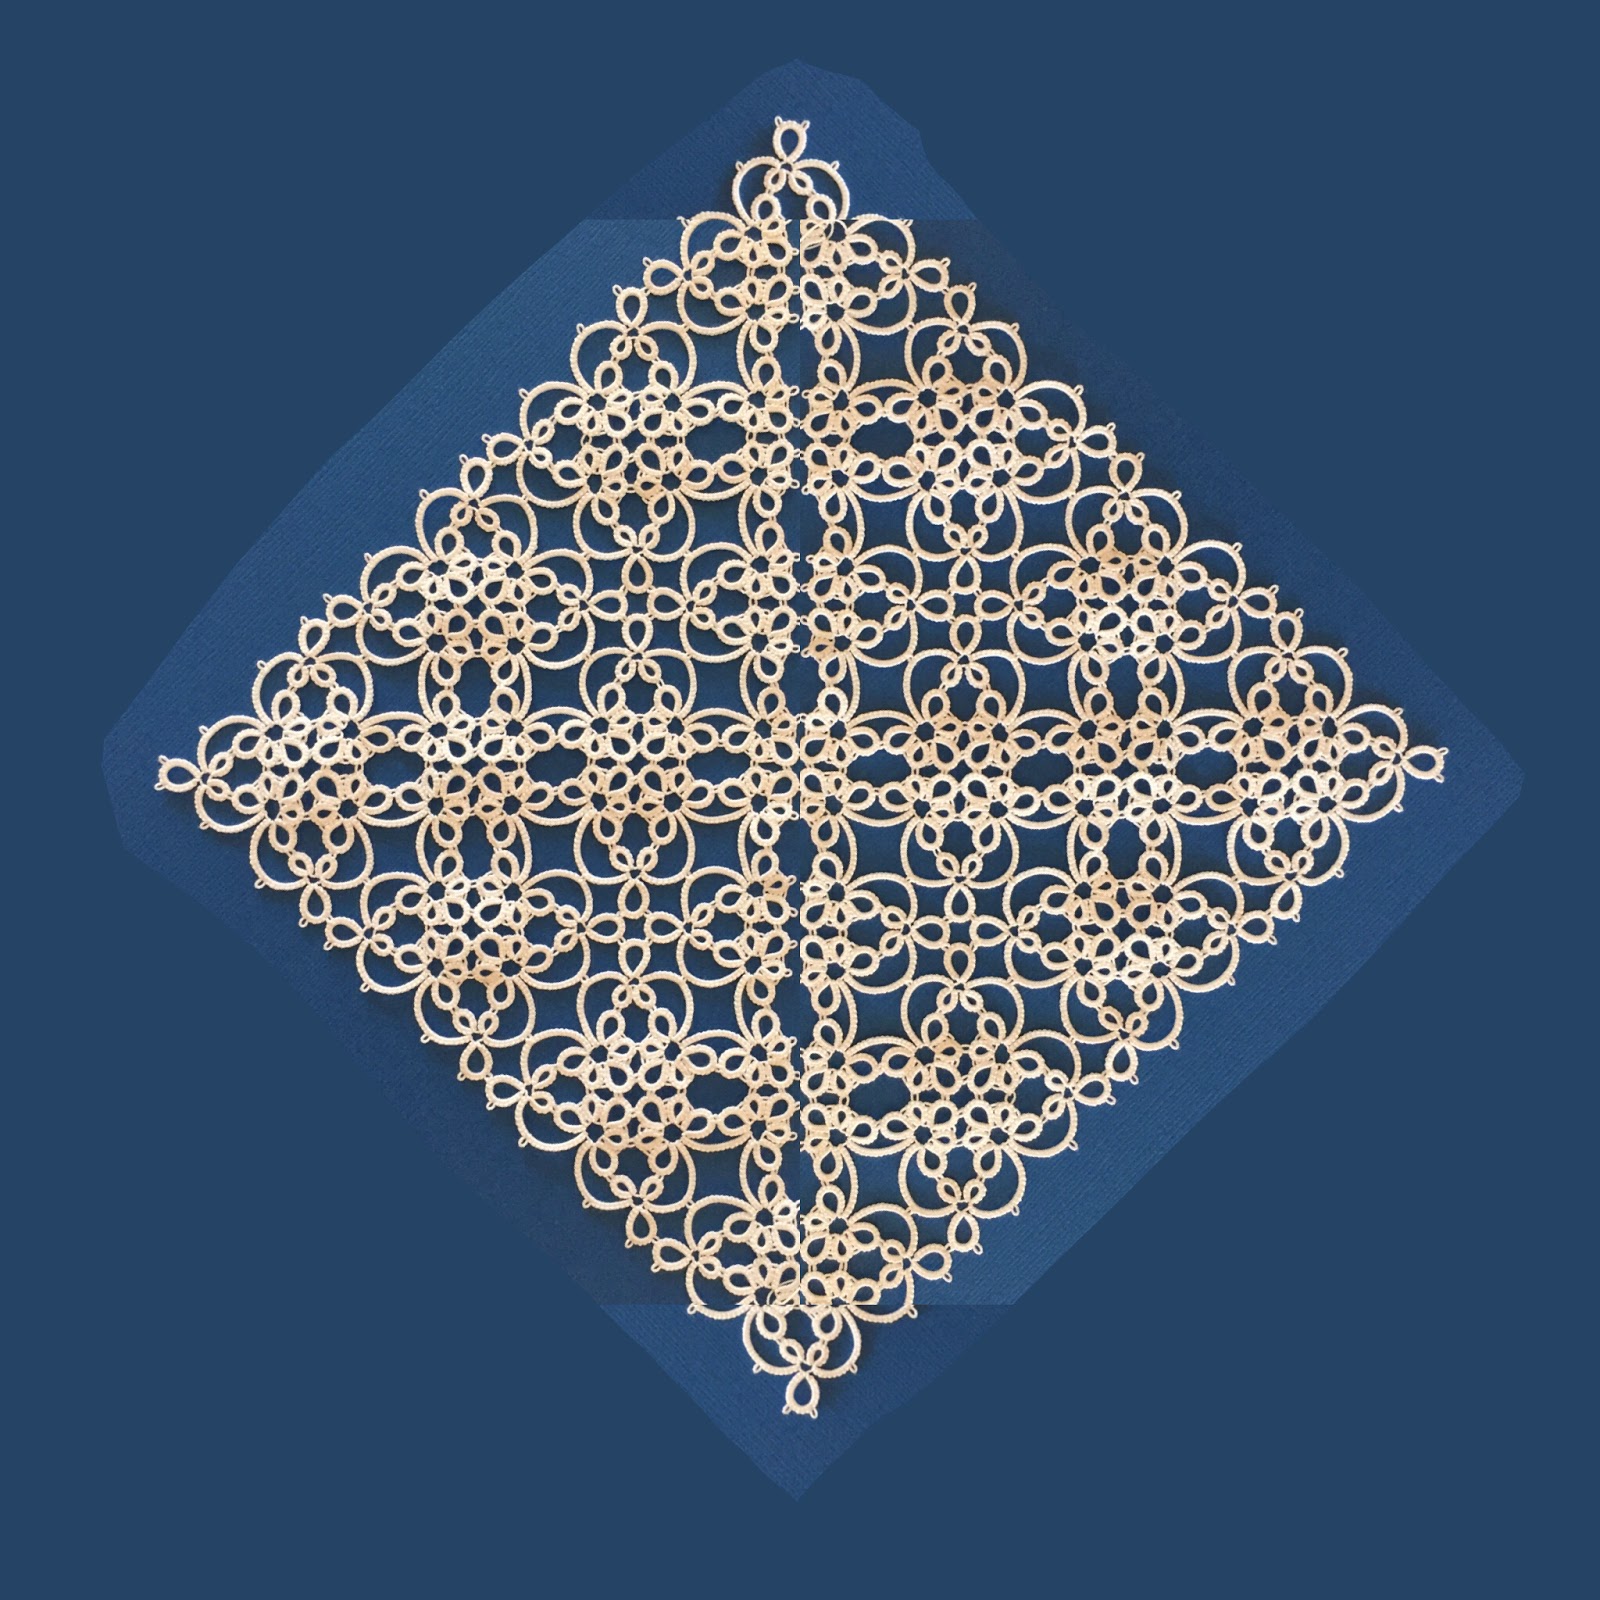
Tatting a slightly larger triangle (a combination of the bottom and rightmost triangles pictured above) creates a new magic square:


Using a simple collage app and drawing app on my iPad, I can get an idea of what each new magic square would look like. Option three, which is how I initially intended to make my magic square, looks like this:


Proceeding even further, a fourth option arises. The first image in this blog post, repeated four times, will yield this result. I like the way this one looks so I'm going forward with this option:


To get really crazy, a fifth option (which I don't have the stamina to complete) would look like this:


All in all, I think this is a really neat experiment and I am excited to see what the finished square will look like.

Friday, October 7, 2016

Mary Konior's "Patchwork" as a magic square

In my last post, I talked about wanting to create a magic square out of four ringed flowers, similar to those used by Mary Konior. The more I thought about it, the more I wondered, "Why not transform one of Mary's patterns into a magic square?" That idea seemed like more fun, and so I went along with it. I'm a big fan of Mary's patterns and I think this one turned out nicely.


This pattern is called "Patchwork" and appears in Mary Konior's Tatting with Visual Patterns. The original pattern is a small repeatable square that can be connected to other squares to make a large mat. I transformed it into a magic square by adding trefoils to the corners of the small squares.

For those who would like to try this pattern adaptation, here are my notes. As you tat this, keep in mind that the central flowers have a slightly different stitch count so they can attach to the trefoils. I've also changed a lot of the original stitch counts to suit my tatting style:


Right clicking and opening the photo in a new tab should make the stitch counts large enough to read. Numbers in the diagram show one repeat. The flower in the lower left corner (where numbering begins) is a good place to start tatting this pattern.

If you are really ambitious, you could make the square much larger. I digitally altered the photo to give an idea of what a larger magic square would look like:


I'd recommend starting in the corner and working your way around like this:


This larger square is all done in one pass, but it is quite a maze and careful attention is needed to keep your place!